How to Make Pour Over Coffee Without a Scale: A Simple Guide
Learning how to make pour over coffee without a scale can seem like a daunting task.
Despite its reputation for being essential to creating the ideal cup of coffee, achieving precision can be a challenging undertaking. But what if you're traveling or simply don't have access to a kitchen scale for when you are making coffee?
No worries! You can still brew an excellent pour over coffee without one.
In fact, knowing how to make pour over coffee without a scale could become your new secret weapon for great tasting java on-the-go.
Table Of Contents:
- 1. Gather Your Supplies
- 2. Measure the Coffee Grounds
- 3. Heat the Water
- 4. Bloom the Coffee
- 5. Pour in Circles
- FAQs in Relation to How to Make Pour Over Coffee Without a Scale
- Conclusion
1. Gather Your Supplies
To start crafting your ideal cup of coffee quickly, ensure you have the necessary tools ready.
Let's get right into what you'll need to quickly craft that perfect cup of coffee.
Pour Over Coffee Maker
The cornerstone of making pour over is having a quality coffee dripper. This device holds the filter and ground coffee beans while allowing water to slowly pass through them, creating an aromatic brew full of flavor and depth.
You also require paper filters compatible with your chosen dripper for this method. Although there are reusable options available, single-use paper filters tend to offer cleaner results by filtering out more oils and fine particles from the final brew.
Freshly Ground Coffee Beans
To truly elevate your cup above average store-bought fare, consider using freshly ground beans instead of pre-ground varieties whenever possible. Grinding just before brewing ensures optimal freshness which translates directly into richer flavors and aromas during consumption. A good grinder can be either electric or manual depending on personal preference, budget constraints, etc. Strive to get the top-notch coffee beans available, be it single origin or special blends; this will certainly have an impact on the flavor and aroma when you finally drink your brew.
Hot Water Source
A frequently overlooked aspect in making delicious pour over is maintaining the correct water temperature throughout the process, specifically around 205°F (96°C). An easy way to achieve this without needing a thermometer every time is to use an electric kettle that has built-in settings to control heat levels precisely as needed. Though traditional stovetop boiling works too if the latter is not a readily accessible option at hand, home, office, wherever else you plan to enjoy satisfying cups regularly henceforth onwards.
A Timer
Last but certainly not least comes the timing element involved in various stages such as the blooming phase where we let the grounds sit after the initial pouring of hot water onto release trapped gases, leading to better extraction. Actually, afterwards, subsequently yielding a stronger, smoother finished product as a result. Thus, emphasizing the importance of keeping track of intervals carefully via reliable means, it could be anything from a simple stopwatch function on your phone or kitchen timer, or even an hourglass sand timer, whatever suits your convenience factor. Most importantly, remember that precision matters greatly in the context of small deviations potentially leading to big differences in taste outcome. Therefore, aim for consistency above everything else, trying to perfect the technique down pat for future attempts, moving forward on your journey to mastering the art of crafting great regular cups at your own pace, comfort, and space, thereby saving money in the long run, plus gaining a deeper appreciation for the complexities and nuances that the world of gourmet specialty coffee presents along the way. Happy Brewing, everyone.
Mastering the art of pour-over coffee is simpler than it seems. You'll need a quality dripper, compatible paper filters, freshly ground beans for optimal flavor, and a reliable heat source to maintain around 205°F (96°C) water temperature. Don't overlook timing - precision in each brewing stage leads to tastier results. Consistency is key; with practice and patience, you'll be crafting gourmet cups at home while saving money and savoring the complexities of specialty coffee.
2. Measure the Coffee Grounds
The secret to a perfect cup of pour-over coffee starts with measuring your freshly ground coffee beans accurately. Although professional baristas often use a scale for precision, you can still brew an excellent cup without one.
So let's break down how we're going to do this.
A Good Rule of Thumb for Measurements
To make pour over coffee without using a scale, stick to 1-2 tablespoons per every six ounces (180 ml) of water. For our purposes here, that equates roughly two heaping tablespoons - about 20-25 grams if you were weighing it out. You can also get yourself a coffee measuring spoon to measure coffee.
This isn't set in stone though. Depending on the type of bean and personal taste preferences, these measurements might need some tweaking. Don't be hesitant to try different things until you find the flavor that suits your taste.
Selecting Your Beans and Grind Size
Your choice in coffee beans will significantly impact the flavor profile of your final brew, so choose wisely. We recommend fresh whole beans from reputable roasters as they offer more control over freshness compared with pre-ground options.
If possible, aim at grinding them yourself just before brewing - medium-coarse grind resembling sea salt is usually ideal, but feel free to adjust based upon the specific variety or desired strength levels accordingly.
3. Heat the Water
In your journey to brewing a perfect cup of pour-over coffee, water temperature plays an integral role. The ideal heat level for extracting flavors from ground coffee beans is around 205°F (96°C). This might seem oddly specific, but there's science behind it.
Finding The Right Temperature Without A Thermometer
If you're wondering how to hit this optimal temperature without having a thermometer at hand - fret not. There are some simple tricks that can help approximate this crucial measurement using visual cues and timing.
- The first step involves bringing filtered water to boil in either an electric kettle or pot on stove top.
- Once the boiling is complete, pause for a moment before beginning the brewing process to allow temperatures to stabilize at an ideal level. This brief waiting period allows excess heat to dissipate slightly so that when you begin pouring onto those fresh grounds, it's near-perfect extraction temperatures - all set and ready to start making a delicious cup.
Using An Electric Kettle For Consistent Results
Making pour-over coffee without a scale can seem daunting, but with the right tools and techniques, you can brew a delicious cup that rivals any barista-made beverage. One essential tool in achieving this is an electric kettle, especially one with temperature control. This section will guide you through using an electric kettle to ensure consistent brewing temperatures for your pour-over coffee.
The Importance of Water Temperature
Brewing coffee is all about precision and consistency. The temperature of the water plays a crucial role in extracting the flavors from your ground coffee beans efficiently. Too hot, and it may burn your grounds; too cool, and it won't extract enough flavor. Most coffee enthusiasts agree that the ideal water temperature for brewing pour-over coffee is between 195°F to 205°F (90°C to 96°C). An electric kettle with adjustable temperature settings allows you to hit this sweet spot every time.
Achieving Perfect Pour Control
In addition to controlling water temperature, making pour over requires precise pouring techniques - something that's easier said than done when just eyeballing measurements or using traditional kettles. A gooseneck electric kettle gives you unparalleled control over pouring speed and direction, ensuring even saturation of your ground coffee for optimal extraction during the bloom phase—a critical step where carbon dioxide escapes from freshly roasted beans allowing proper wetting.
- Pour Slowly: Begin by wetting all grounds lightly to let them "bloom" before continuing slowly adding more hot filtered water in circular motions.
- Maintain Ratio: Even without a scale, understanding basic volume measurements helps maintain desired strength—generally aiming for about two tablespoons ground coffee per six ounces of water as starting point then adjusting based on taste preferences towards stronger or weaker cups.
Tips for Measuring Without a Scale
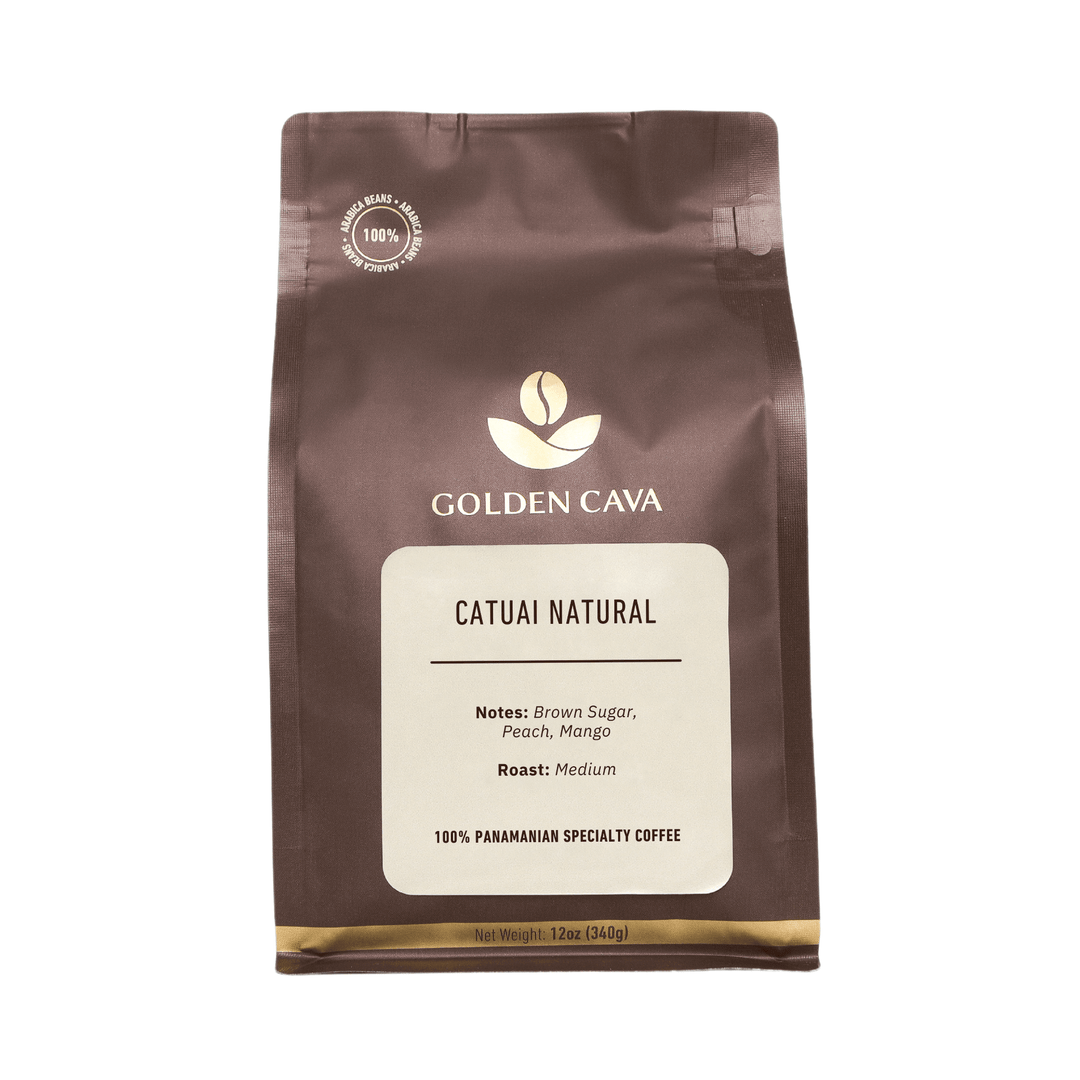
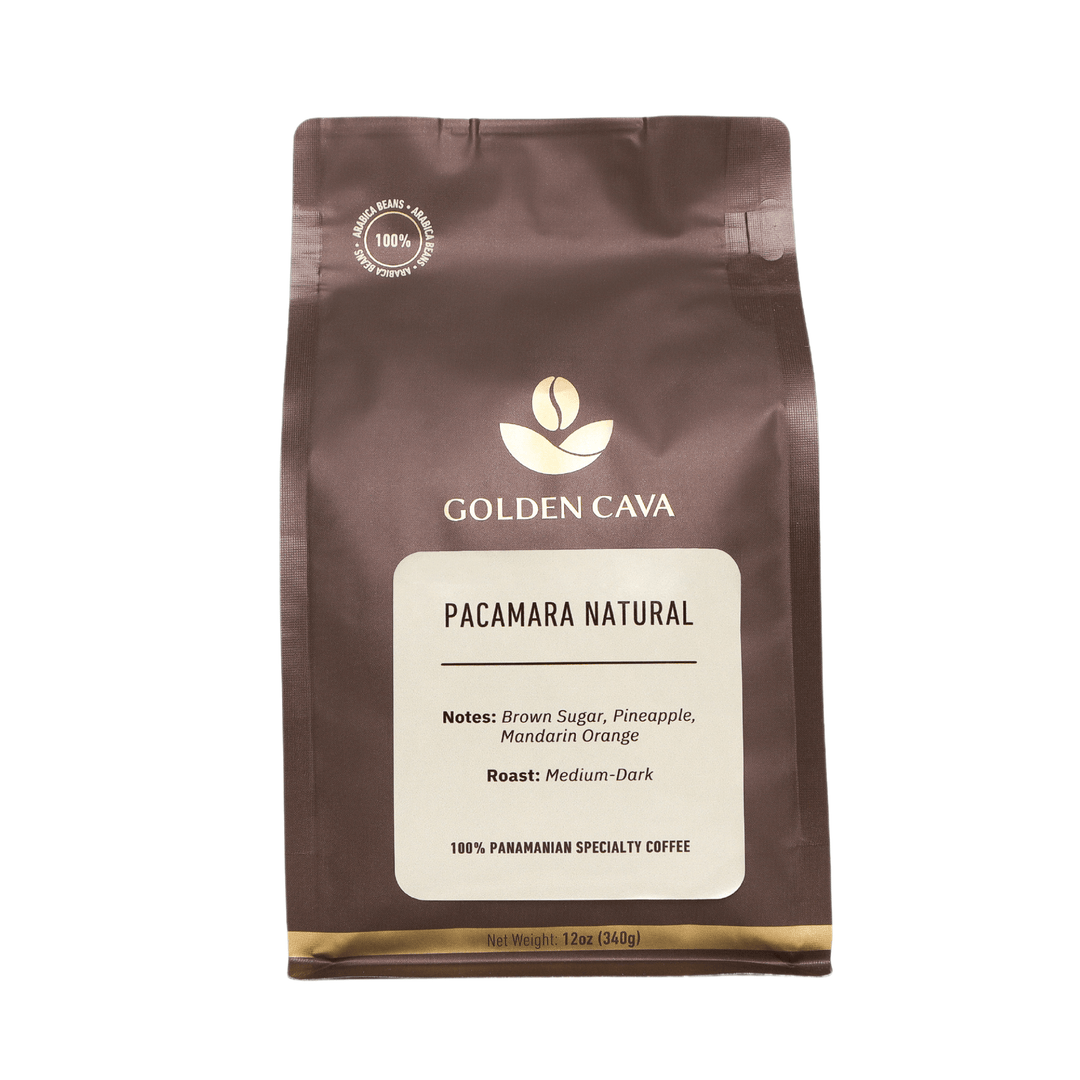
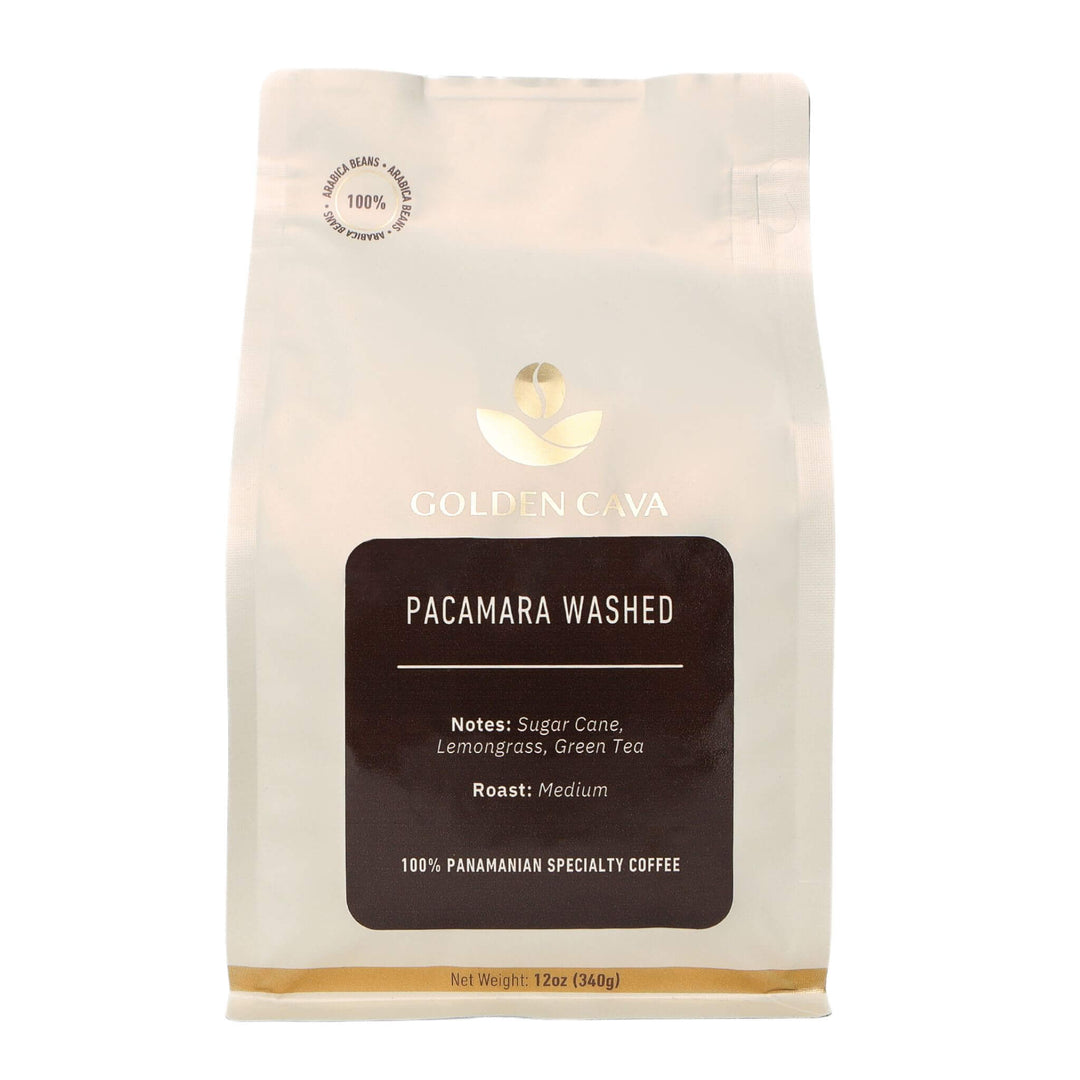
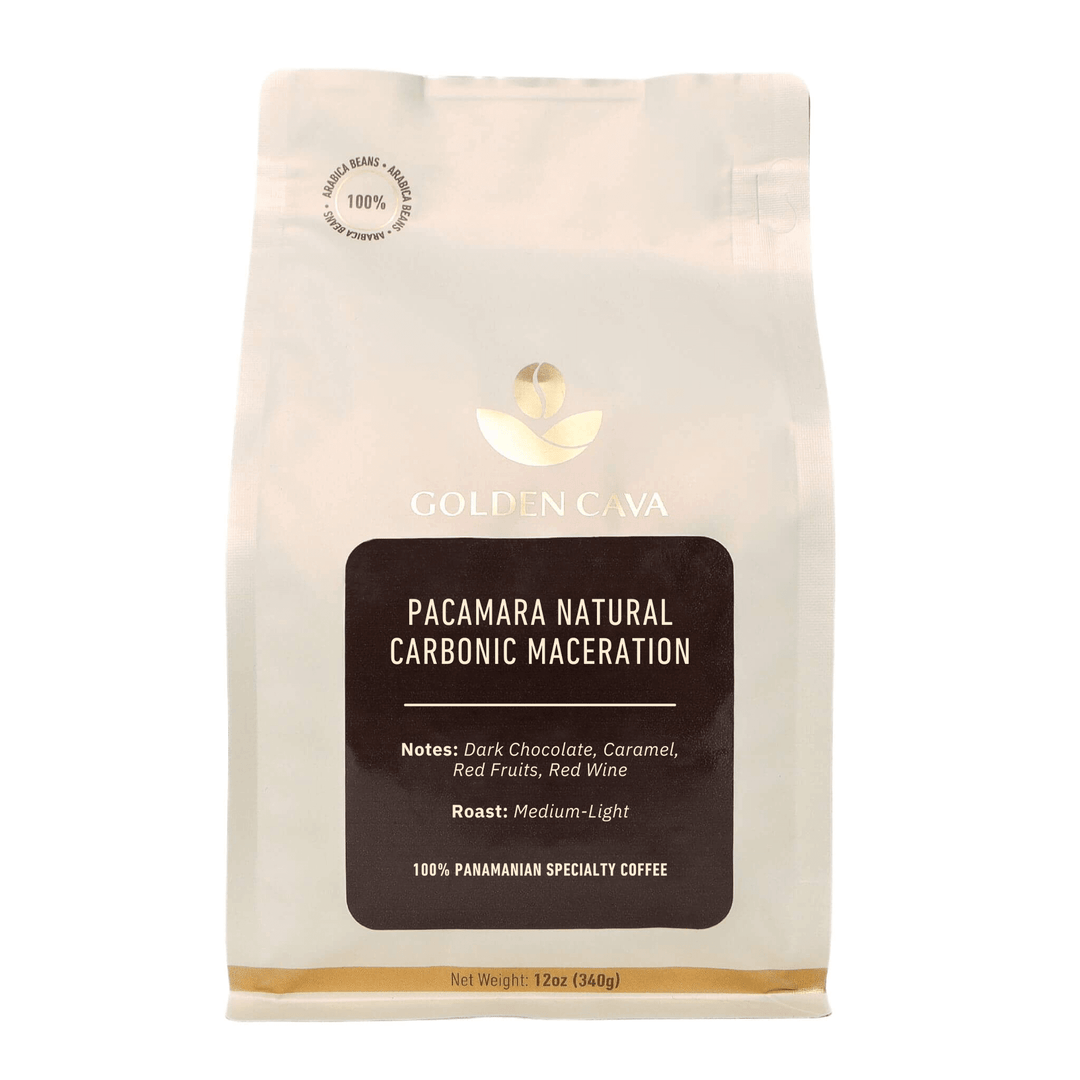
If lacking a digital kitchen scale doesn’t mean compromising on quality if other measures are taken seriously such as grinding fresh bean coffee just before brewing or using high-quality pre-ground options designed specifically for pour overs like those offered at Golden Cava – focusing on freshness sustainability empowering better experiences whether home travel play alike!
- To measure out your ground coffee use dedicated coffee measuring spoons marked specific volumes; alternatively household items teaspoons tablespoon sets offer good estimates albeit less accurate than professional scoops tailored toward exactness needed crafting perfect cup each time!
4. Bloom the Coffee
Blooming your coffee is a fundamental step in brewing an exceptional cup of pour-over coffee. This process begins when hot water first encounters ground coffee beans, causing them to expand or "bloom".
This initial interaction paves the way for better extraction of flavors during subsequent pours.
The Artistry Behind Blooming Technique
To effectively bloom your coffee, begin by ensuring that all measured ground coffees are evenly spread on your dripper's base. Then slowly pour enough heated filtered water (approximately twice as much as dry weight) onto it until they're fully soaked but not flooded.
Why Blooming Matters In The Brewing Process?
If you've been wondering why we take this extra step instead of diving straight into full-on brewing: blooming plays a critical role according to many coffee enthusiasts.
In essence, blooming prepares our precious grinds before their main exposure to heat which can make a significant difference in the final taste outcome - especially if using high-quality specialty coffees.
Tips For A Successful Bloom:
- Prioritize fresh-roasted beans; older ones may have less gas left inside them thus yielding less effective blooms.
- Maintain gentle and even pouring throughout.
Frequently Asked Questions About Coffee Blooms:
It refers specifically here towards action where heated H20 interacts initially upon entering contact against finely crushed plant matter causing chemical reactions including CO2 release leading ultimately towards creation new flavor compounds ready later extraction stages.
- You'll want approximately a half-minute pause post-bloom phase completion prior to resuming any further infusion actions involving additional volumes being added above the pre-existing level already present beneath the filter cone structure's interior cavity space region.
5. Pour in Circles
The journey to brewing a satisfying cup of pour-over coffee doesn't stop at the blooming stage; it's carried forward by how you pour water over your coffee grounds. Pouring hot water is a step instrumental for creating that perfect cup and demands precision coupled with patience.
Starting from the Center
You need to initiate pouring water directly into the center of your dripper, making sure every ground coffee bean gets evenly saturated - not leaving any dry or overly soaked spots behind. By doing this, hot water extracts flavors uniformly across all parts of the grind leading to a balanced flavor profile in your final brew.
Rushing through this process can lead towards under-extraction or over-extraction which will negatively impact taste, so take time here. Remember we're trying to make great tasting cups without relying on something like a coffee scale.
Moving Outwards Gradually
After starting off from the center point, gradually move outwards in a circular motion until reaching near the edge, but be careful to avoid touching the sides of the filter paper. We want to maintain control throughout the entire brewing process rather than letting gravity do the work for us.
Your aim during this phase should be maintaining an even flow rate while keeping the total brew time within the 2-4 minute range, depending on the desired strength and volume measurements used (remember timing becomes more critical when working without measuring tools).
Pouring Technique Matters
A common mistake made by many novice home baristas is starting to brew their own pour-over coffees using incorrect pouring technique, which can drastically affect quality and result in a less delicious cup with each sip taken. An electric kettle with a gooseneck spout offers better control for slow pours compared to regular models. The design enables precise targeting of specific areas in cone-shaped filters, avoiding bypassing precious beans and thereby maximizing extraction efficiency throughout the duration of the brewing cycle. This is why investing in a good one of these handy gadgets, especially since they are quite affordable nowadays, thanks to the growing popularity of specialty coffee worldwide.
Brew Time Considerations
If brewed correctly, the correct ratios are typically around 16:1 - 17:1. Most people find that the optimal extraction occurs somewhere between the two to four minute mark. Feel free to experiment with different steep times and find what works best for you. Personally speaking, just bear in mind that longer steep times generally produce a stronger tasting cup, whereas shorter ones tend to yield lighter-bodied beverages due to less soluble compounds being pulled out. Hence, some folks prefer darker roasts, while others lean towards light or medium varieties. Instead, always ensure you use fresh, high-quality coffee, preferably sourced from a reputable local roaster whenever feasible, in order to get maximum enjoyment out of every single cup, regardless of whether it's a morning, afternoon, or evening session. Happy brewing.
Mastering the art of pour-over coffee without a scale is all about precision and patience. Start by pouring water from the center, moving outward in circles for even extraction. Use an electric kettle with a gooseneck spout for better control, and aim to keep your brew time within 2-4 minutes depending on taste preference. Remember, fresh high-quality beans are key.
FAQs in Relation to How to Make Pour Over Coffee Without a Scale
How do you make pour over coffee without a scale?
You can still brew delicious pour over coffee without a scale. Use 2 tablespoons of freshly ground beans for every 6 ounces of water, and adjust to taste.
What is the ratio for a Chemex without a scale?
The standard ratio for brewing in a Chemex is 1:15, meaning one part coffee to fifteen parts water. Without a scale, use roughly one rounded tablespoon of coffee per cup (5 fl oz) of water.
Conclusion
Mastering the art of how to make pour over coffee without a scale is easier than you think.
You've learned that all it takes are some basic supplies: a good pour over brewer, fresh coffee grounds, hot water, and a timer to achieve that great cup.
Remember to measure out your coffee - about 20-25 grams will do. Then heat up around 500ml of water to the right temperature.
The bloom stage is essential for releasing those delicious flavors. Pour just enough water to saturate the grounds and let them sit for half a minute before pouring in circles from the center outwards with your remaining hot water.
This simple guide has empowered you with knowledge on how to make an excellent cup of java anywhere, anytime!
More is yet to come! At Golden Cava, we're passionate about quality, freshness, and sustainability when it comes to our specialty coffees. We believe in better brewing experiences through sourcing premium and fresh coffee beans.
