When it comes to perfecting the art of brewing coffee, understanding this Aeropress how to guide is essential for any serious coffee enthusiast. This innovative fan favorite has revolutionized the way coffee lovers enjoy our daily cup of joe, offering a simple yet effective method that rivals even high-end espresso machines.
In this blog post, we will take a closer look into various aspects of using an Aeropress and provide expert tips for achieving optimal results. From mastering the inverted method and determining the ideal ratio of coffee grounds to water to cleaning your Aeropress properly - you'll find everything you need in this comprehensive guide.
So grab your favorite beans and get ready to elevate your brewing game as we explore all there is to know about making exceptional coffee with an Aerobie Aeropress!
Table Of Contents:
- 1. Understanding the Aeropress
- 2. Preparing for Brewing
- 3. The Inverted Aeropress Method
- 4. Ratio of Coffee and Water
- 5. Cleaning Your Aeropress
- Final Thoughts
1. Understanding the Aeropress
The Aeropress is a versatile and portable coffee brewing device that is popular among coffee enthusiasts and travelers alike. Its unique design allows for quick and easy brewing of delicious specialty coffee while on the go or at home.
Invented by Alan Adler in 2005, the Aeropress includes a chamber that holds ground coffee and hot water during extraction, a plunger to generate pressure for pushing brewed coffee through either paper or metal filter into your cup and a cap.
The chamber holds both the ground coffee and hot water during extraction; meanwhile, the plunger creates air pressure to push brewed coffee through a paper or metal filter into your cup.
Aeropress Components
- Chamber: Holds ground coffee beans and hot water during extraction process.
- Plunger: Creates air pressure to force brewed liquid through a filter into your cup.
- Filter Cap: Attaches to bottom of chamber with either paper or metal filters to separate grounds from final brew.

The key advantage of using an Aeropress lies in its ability to produce smooth-tasting specialty coffees with minimal bitterness compared to other methods like drip machines or French presses. This is because it uses gentle air pressure instead of gravity for extraction, which results in less over-extraction.
To fully appreciate what makes this innovative device so special, let's dive deeper into how it works as well as some tips on achieving optimal flavor profiles when brewing with an Aeropress.
Understanding the Aeropress is a sure way to brew a great cup of coffee, and with this knowledge in hand, you can now move on to prepare your brewing materials.
2. Preparing for Brewing
Before diving into the brewing process, it's essential to properly prepare your Aeropress and gather all necessary equipment. Careful preparation is key to ensure a successful experience and savor the coffee's flavor.
Aeropress Components
As we explained above, the Aeropress consists of several components that work together to create an exceptional brew. The following should be ready before brewing:
- Plunger: The plunger presses brewed coffee through the filter and into your cup.
- Cylinder Chamber: The chamber holds the ground coffee and hot water during brewing.
- Paper or Metal Filter: A paper or metal filter is placed at the bottom of the cylinder chamber to separate grounds from the liquid as you plunge.
- Coffee Scoop & Stirrer: These tools help measure out your desired amount of coffee grounds and stir them with hot water for even extraction.
Gathering Equipment & Ingredients
Before beginning, ensure you are familiar with each component and have all the necessary supplies. Here's what you'll need:
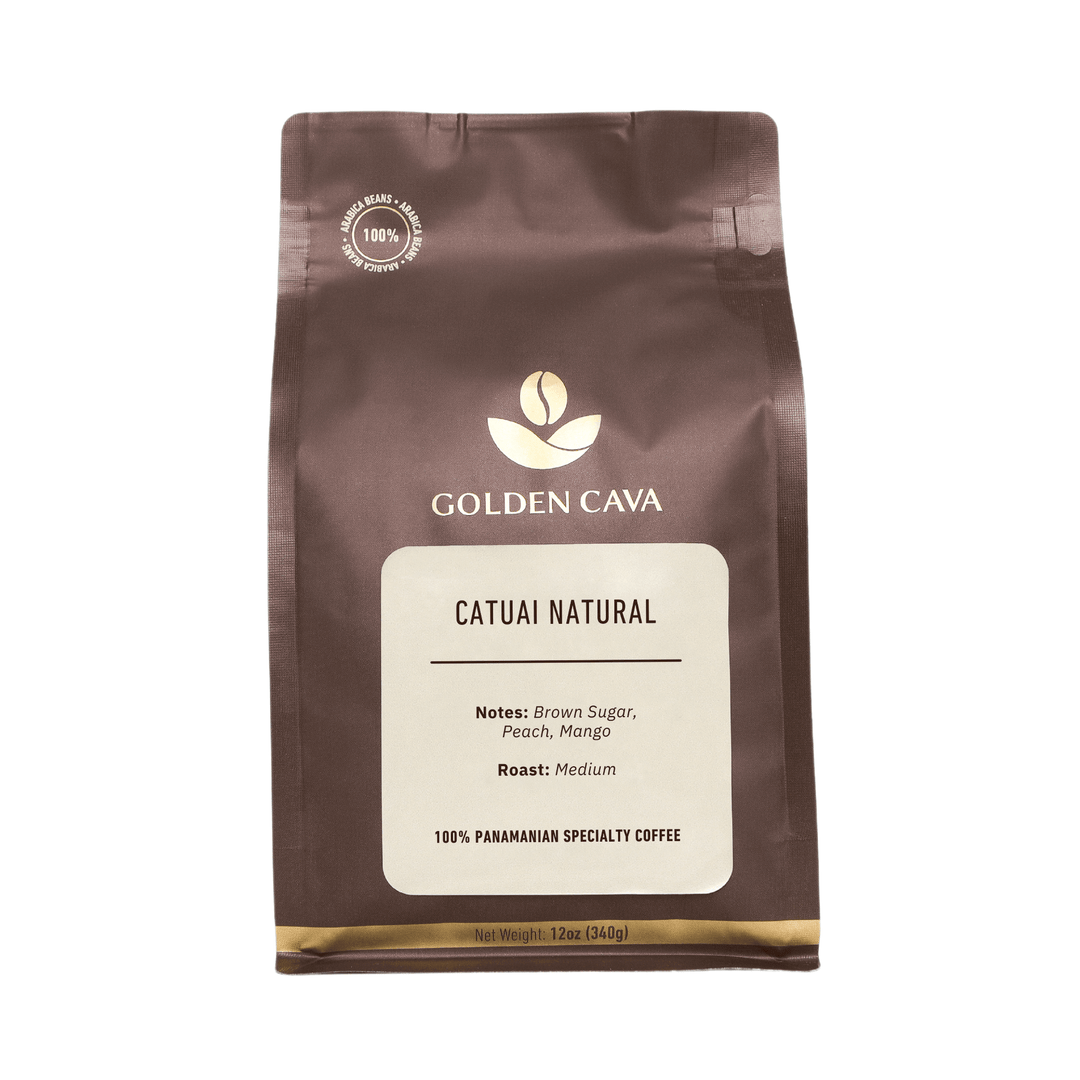
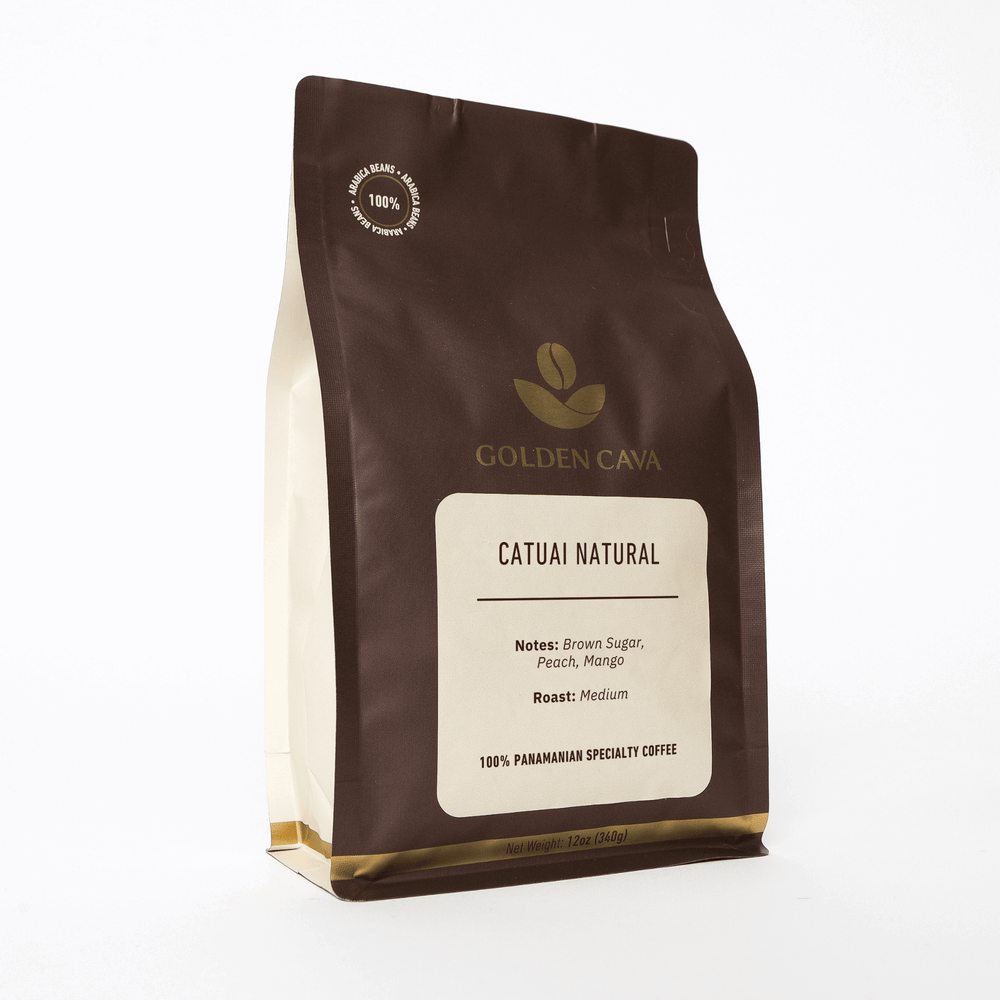
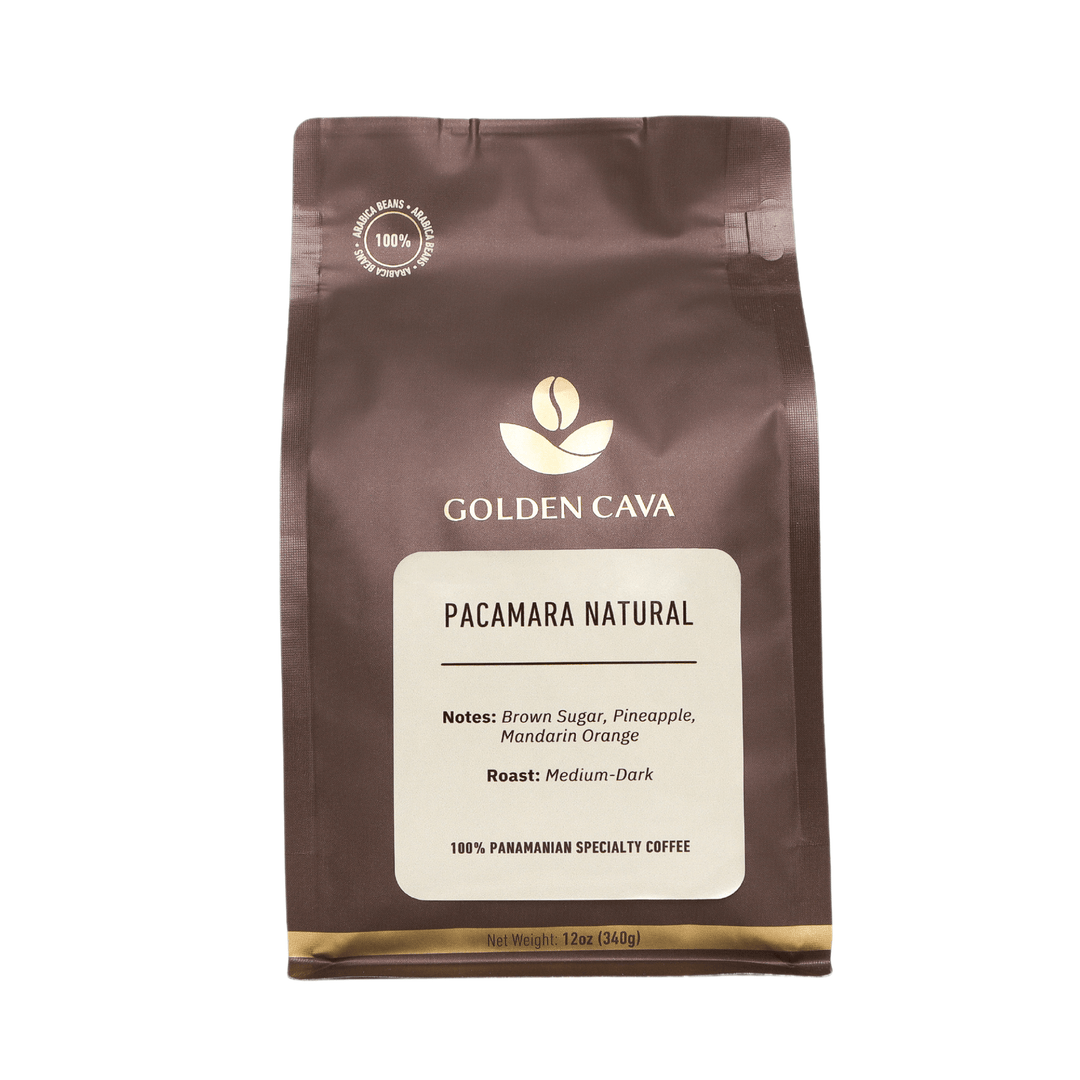
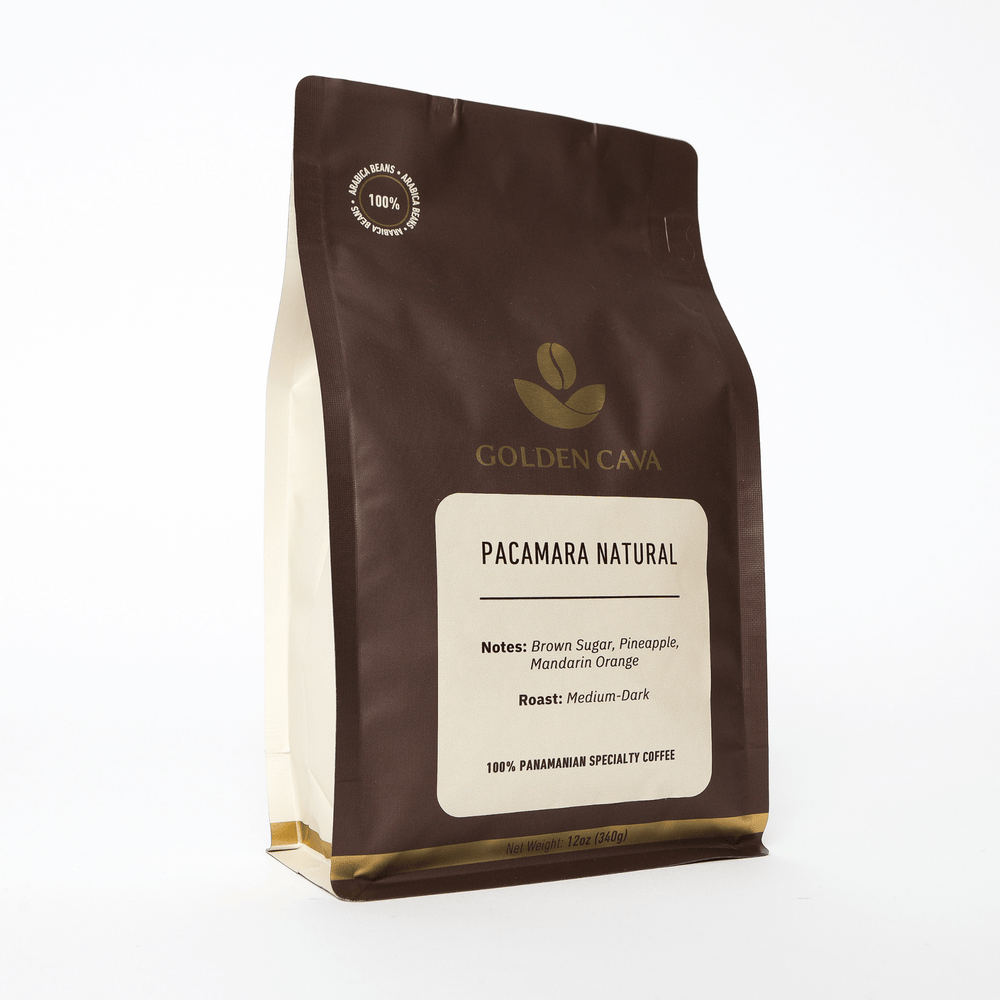
- Freshly roasted whole bean specialty coffee (ideally less than two weeks old). You can shop Golden Cava Coffee to find the best beans!
- A quality burr grinder capable of producing a consistent grind size Check out Baratza Grinders for high-quality options.
- An electric kettle or stovetop kettle for heating water.
- A digital scale to accurately measure coffee and water amounts, Acaia Pearl Model S Scale offers precision and reliability.
Grinding Coffee Beans & Heating Water
It's time to get the grounds ready and warm up that H2O. The ideal Aeropress grind size is slightly finer than drip coffee but coarser than espresso. This will ensure proper extraction without over-extracting or under-extracting the flavors.
As for water temperature, aim for around 200°F (93°C). This will help extract optimal flavor from your specialty coffee while avoiding bitterness caused by boiling temperatures.
Note: If you don't have a thermometer handy, simply bring your water to a boil, then let it sit off heat for about 30 seconds before using it in the brewing process.
You're now ready to start brewing with your Aeropress. In the next section, we'll explore the inverted method - an innovative technique that further enhances flavor extraction.

Key Takeaway: To start the Aeropress brewing process, make sure you have all the necessary components and equipment ready. This includes the plunger, cylinder chamber, filter (either paper or metal), a coffee scoop, stirrer, freshly roasted beans ground to the right size for extraction using a quality burr grinder, and heated water at approximately 200°F (93°C). Once everything is prepared, you can begin making your specialty coffee.
3. The Inverted Aeropress Method
This method is a popular technique among Aeropress enthusiasts that offers optimal flavor extraction and control over the brewing process. This approach involves flipping the Aeropress upside down during brewing, allowing for a more immersive coffee experience.
Why Use the Inverted Method?
Using the inverted method provides several benefits compared to the standard method:
- Better immersion: By inverting your Aeropress, you ensure that all of your coffee grounds are fully immersed in water throughout the entire brew time, resulting in a more even extraction.
- No premature dripping: With traditional methods, some water may drip through into your cup before you're ready to plunge. The inverted method prevents this issue by keeping all of your brewed coffee inside until you're ready to press it out.
- Total control over steeping time: Since no liquid escapes during brewing with this technique, you have complete control over how long your coffee steeps, allowing for fine-tuning and experimentation with different recipes and preferences.
Inverted Method Step-by-Step Guide
- Gather Your Supplies: You'll need an Aeropress (with plunger), filter cap, paper or metal filter (see our guide on choosing filters here), freshly ground coffee beans (use our grind size chart as reference), and hot water at around 200°F (93°C).
- Assemble Your Aeropress: Insert the plunger into the chamber, making sure it's properly seated. Flip your Aeropress upside down so the filter cap faces up and rests on a stable surface.
- Add Coffee Grounds: Measure out your desired amount of coffee grounds (typically 15-18 grams) and pour them into the inverted Aeropress chamber. Give it a gentle shake to level out the bed of coffee for even extraction.
- Pour in Hot Water: Slowly pour hot water over your coffee grounds until you reach your desired brewing ratio (refer to section 4). Make sure all of the grounds are fully saturated by stirring with a spoon or using an Aeropress stirring paddle.
- Brew Time: Depending on personal preference and recipe recommendations, allow your coffee to steep for approximately 1-2 minutes. Experiment with different brew times to find what works best for you.
- Screw On Filter Cap & Prepare Cup: While waiting for your brew time, place either a paper or metal filter inside the filter cap and screw it onto the top of your inverted Aeropress. Set aside a large cup or mug to accommodate both brewed liquid and pressing space.
- Carefully Flip & Press: Grip both sides firmly while holding onto the filter cap as well, then carefully flip the entire assembly right-side-up directly over the prepared cup/mug before plunging downward slowly but steadily at constant pressure until complete extraction. This will usually take around 20-30 seconds total press duration.
Once you have the hang of it, you can tailor your cup of coffee to your exact preference with an exquisite taste. Don't be scared to try out diverse brewing periods, proportions, and grind sizes until you locate the ideal combination for your palate.

Key Takeaway: The inverted method of using an Aeropress is a great way to up your coffee game, allowing for full immersion and total control over the brewing process. With this technique, you can take your cup o' joe to new heights by experimenting with different recipes until you find one that really hits the spot.
4. Ratio of Coffee and Water
Understanding the ideal ratio of coffee and water is crucial for brewing a perfect cup with your Aeropress. The right balance ensures that you extract the best flavors from your coffee beans without over-extracting or under-extracting them, resulting in a balanced and enjoyable taste.
Finding Your Ideal Ratio
The recommended starting point for an Aeropress brew is to use 15 grams (about 1 rounded tablespoon) of freshly ground coffee per 250 ml (8 ounces) of water. However, this can be adjusted according to personal preferences:
- Mild Brew: If you prefer a milder cup, try using less coffee - around 12-13 grams - while maintaining the same amount of water.
- Bold Brew: For those who enjoy stronger flavors, increase the amount of coffee to approximately 17-18 grams while keeping the same volume of water.
Depending on your desired flavor profile, you may also want to experiment with different grind sizes: finer grinds will result in more extraction and bolder tastes, whereas coarser grinds yield lighter-bodied cups with subtler notes.
A good starting point is using a medium-fine grind similar to what you would use for drip or pour-over methods.
Aeropress Brewing Tips
- Use a digital scale: For precision in your measurements, consider a digital scale with the capability to weigh coffee and measure water volume - this will help you get the desired temperature of 195°F (90°C) to 205°F (96°C).
- Temperature-controlled kettle: Water temperature plays a significant role in the extraction process. Aim for H2O heated to around ninety-point (90°C) - ninety-six point (96°C). A temperature-controlled kettle will help you achieve this with ease.
- Stirring: To ensure even saturation of your coffee grounds, give them a gentle stir after adding water. This helps prevent clumping and promotes more consistent extraction.
Experimenting with different ratios, grind sizes, and brewing techniques will ultimately lead you to discover your perfect Aeropress cup. Ultimately, the ratio between coffee and water must be carefully considered for a great cup of coffee. To ensure your Aeropress lasts for a long time, cleaning it regularly is essential.

Key Takeaway: Brewing a perfect cup of coffee with your Aeropress requires finding the ideal ratio of coffee and water, as well as experimenting with grind size. A good starting point is 15g (1 rounded tablespoon) of freshly ground medium-fine beans per 250ml (8 ounces) of heated water around 195°F to 205°F, plus stirring for even saturation. With some trial and error, you'll soon hit the sweet spot.
5. Cleaning Your Aeropress
Maintaining your Aeropress is essential for ensuring the best coffee experience and prolonging its lifespan. Proper cleaning keeps your device in top condition and prevents unwanted flavors from affecting future brews.
To ensure your Aeropress remains in peak condition and to prevent any unwanted flavors from affecting future brews, this guide will take you through the steps of proper cleaning.
A. Disassembling Your Aeropress
Before you begin cleaning, it's important to disassemble your Aeropress completely to ensure all parts are cleaned thoroughly:
- Unscrew the plunger from the Aeropress chamber.
- Unscrew the filter cap and take out the used paper or metal filter.
- If using a paper filter, discard it after each use; if using a reusable metal filter, set aside for separate cleaning.
B. Rinsing with Warm Water
Rinse each component under warm water immediately after brewing to remove any residual coffee grounds and oils:
- The chamber: Rinse both inside and outside surfaces until clean.
- The plunger: Pay special attention to rinsing around the rubber seal, as coffee grounds can accumulate there over time.
C. Deep Cleaning Tips
To maintain optimal performance, deep clean your AeroPress every few weeks or when needed. Here’s what you can do:
- Dismantle all components before soaking them in warm soapy water for about ten minutes as this helps break down stubborn residue that may have built up over time. Aerobie, the company behind Aeropress, recommends using a mild detergent for this process (source).
- Use a soft brush or sponge to gently scrub each part, paying close attention to the rubber seal and filter cap where coffee grounds can accumulate.
- Rinse all components thoroughly under warm water before reassembling your Aeropress.
D. Drying Your Aeropress
Properly drying your AeroPress is essential in preventing mold growth and ensuring that it's ready for use at any time:
- After rinsing, shake off excess water from each component.
- Lay out all parts on a clean towel or dish rack to air dry completely before storing them away.
Taking care of your Aeropress by following these cleaning steps will ensure you enjoy delicious coffee cups while keeping your device in top condition. Always use fresh beans from reliable sources like our Golden Cava store for an exceptional coffee experience every time.

Key Takeaway: This guide explains the process of cleaning an Aeropress, from taking it apart and washing with warm water to a thorough scrub-down using mild soap and air drying. By following these steps, you'll be able to keep your device in top condition for longer while continuing to enjoy the best coffee experience possible.
Final Thoughts
Unlocking the full potential of your coffee beans is as easy as using an Aeropress! With its unique design and simple instructions, whipping up delicious coffee becomes a piece of cake. By following our Aeropress how to guide, we hope you've learned a thing or two about this awesome brewing method, ensuring your coffee game is always on point. Your coffee beans will thank you for it!